

This piña colada limber recipe brings together coconut and pineapple, the same flavors that make the classic cocktail so iconic, but in a kid-friendly, freezer-ready form. It’s an easy Puerto Rican dessert recipe that takes minutes to prep and only a handful of ingredients, making it one of the best homemade tropical ice pops you can put in your freezer this summer.
My Childhood Memories of Limbers
I grew up eating limbers in Puerto Rico. Limbers are more than just a frozen dessert; they are a cultural tradition and a sweet reminder of my childhood. They bring back so many memories, especially of elementary school days when I would wait for the last school bell to ring so I could run to Doña Carmen’s house and yell at her front gate, “¡Limber!” to buy my favorite flavor: limber de coco. I also remember my cousin used to sell limbers from my aunt’s house to make extra money.
Coconut limber has always been my all-time favorite, especially because Doña Carmen made hers with real coconut and filled them with tiny pieces of fresh coconut. Every bite was a little taste of home and a memory I still cherish today. Then, growing up, Pina Colada Limbers became my second favorite limber. The combination of coconut and pineapple is the best combo.
What is a Limber?
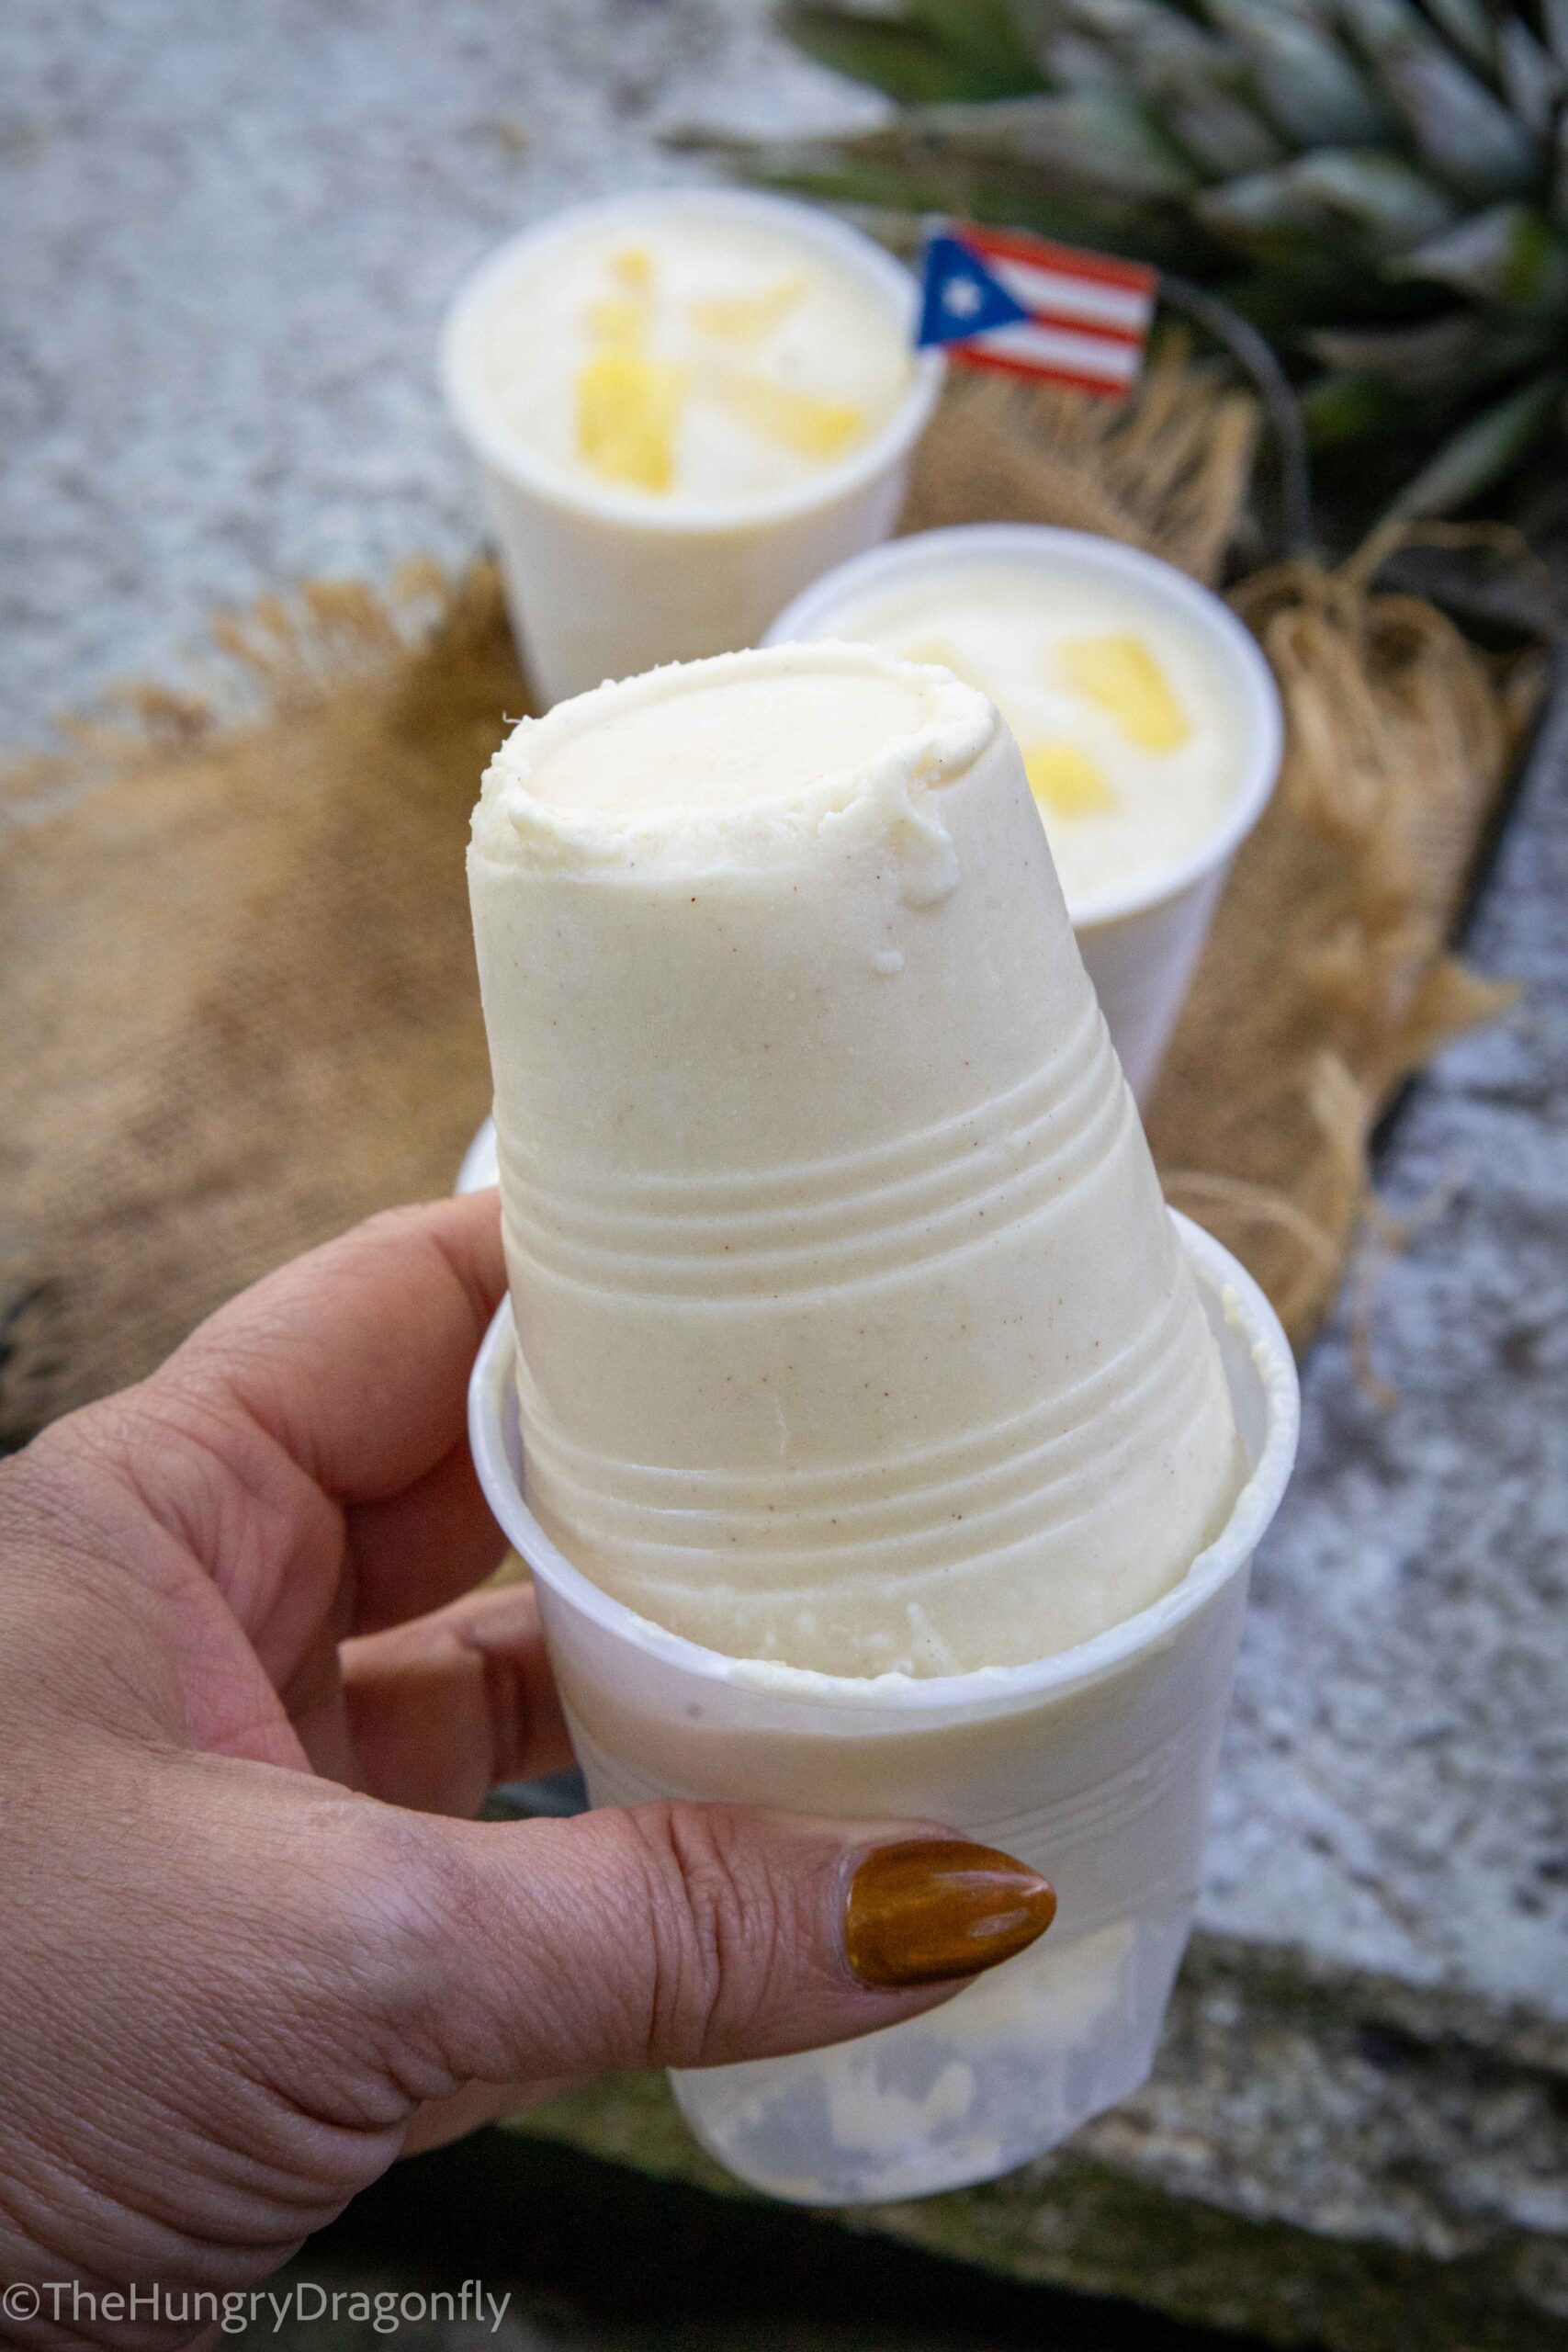
But before I continue sharing my love for limbers, let me tell you what exactly a limber is. Limbers are Puerto Rican frozen treats made from sweetened fruit juices, creamy mixtures, or flavored bases. Like ice pops, they are frozen in small plastic cups rather than served on a stick. To eat one, you squeeze the bottom of the cup to push the frozen treat upward, often turning it upside down as it begins to melt.
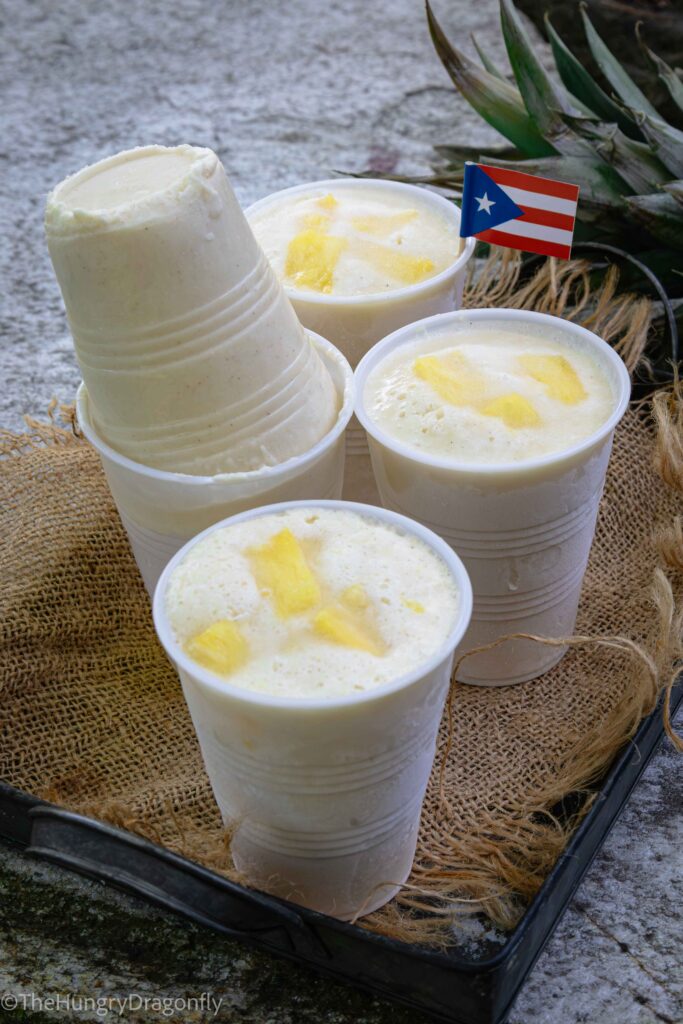
You’ll find limbers in almost every Puerto Rican neighborhood. Many families make and sell them from their homes, offering dozens of flavors ranging from tropical fruits to creamy classics.
Some of the most popular flavors include:
- Coconut (Coco)
- Pineapple
- Piña Colada
- Tamarindo
- Passion Fruit (Parcha)
- Guava
- Mango
- Strawberry
- Oreo
- Peanut Butter
- Cheesecake
- Crema
- Lemon
Every family has their own recipe, making each limber unique. Here are some of my favorite Limbers.
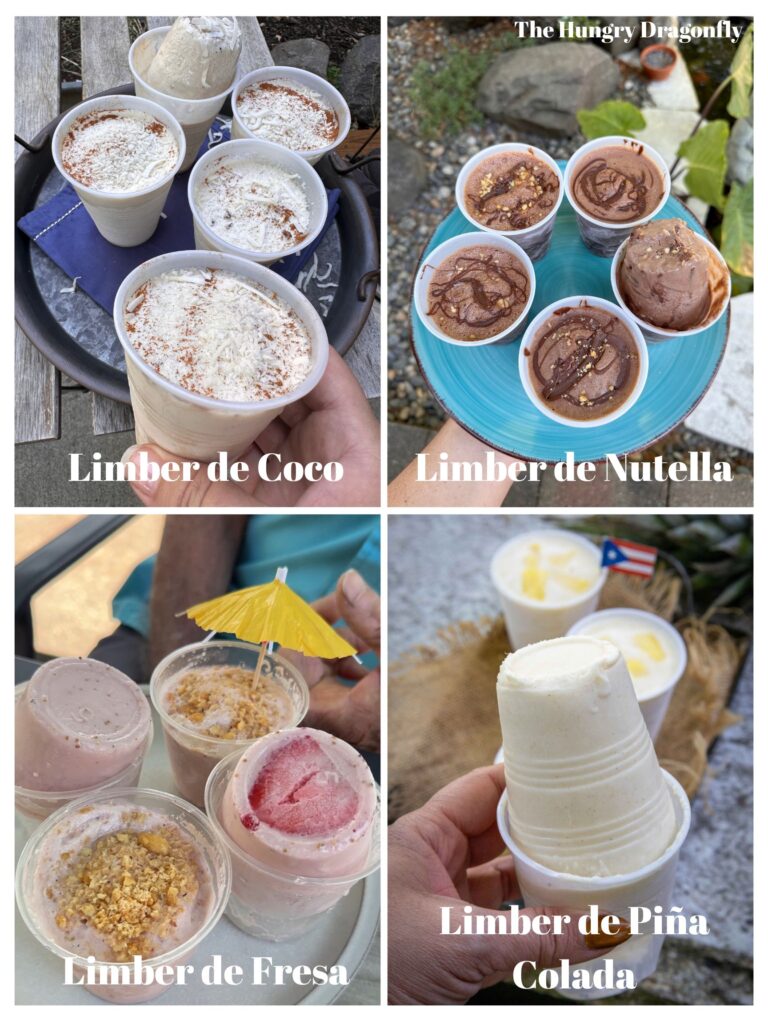
But how did they get the name “limber”?
To answer that, we have to travel back in time to Puerto Rico in the 1920s. The treat is believed to have been named after the American pilot Charles A. Lindbergh. According to popular Puerto Rican folklore, locals served him frozen juice cups during his visit to San Juan. Over time, Puerto Ricans adapted his last name phonetically, transforming “Lindbergh” into “limber” and giving the frozen dessert its name today.
Another version of the story says that Lindbergh enjoyed the refreshing icy treat so much that locals began recreating it at home, using the Spanish pronunciation of his last name as inspiration. A more humorous version of the folklore suggests that Puerto Ricans initially found the aviator to be distant and “cold,” leading to the saying “más frío que un limber” (“colder than a limber”), which eventually became associated with the dessert.
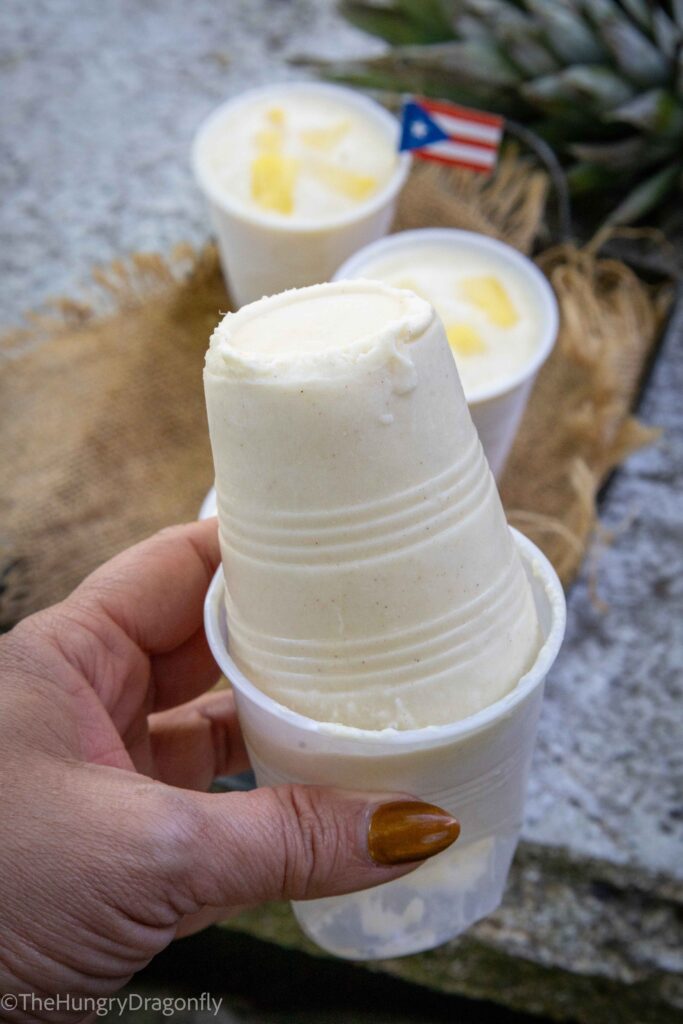
Why You’ll Love These Piña Colada Limbers
If you’ve never made limbers before, this is the perfect recipe to start with.
You’ll love them because they’re:
- Easy to Make
- Made with simple pantry ingredients
- Creamy and refreshing
- Naturally gluten-free
- Perfect for kids and adults
- Great for summer parties and BBQs
- Easy to make ahead
- A taste of Puerto Rico in every bite
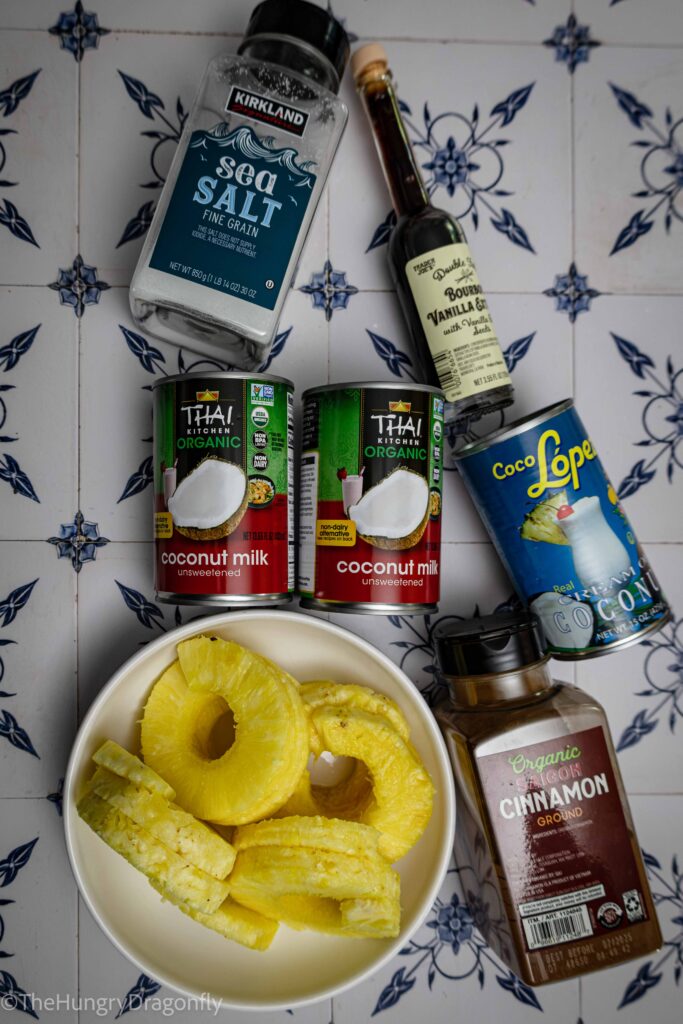
The star ingredient of these Piña Colada Limber is this beautiful fresh pineapple.
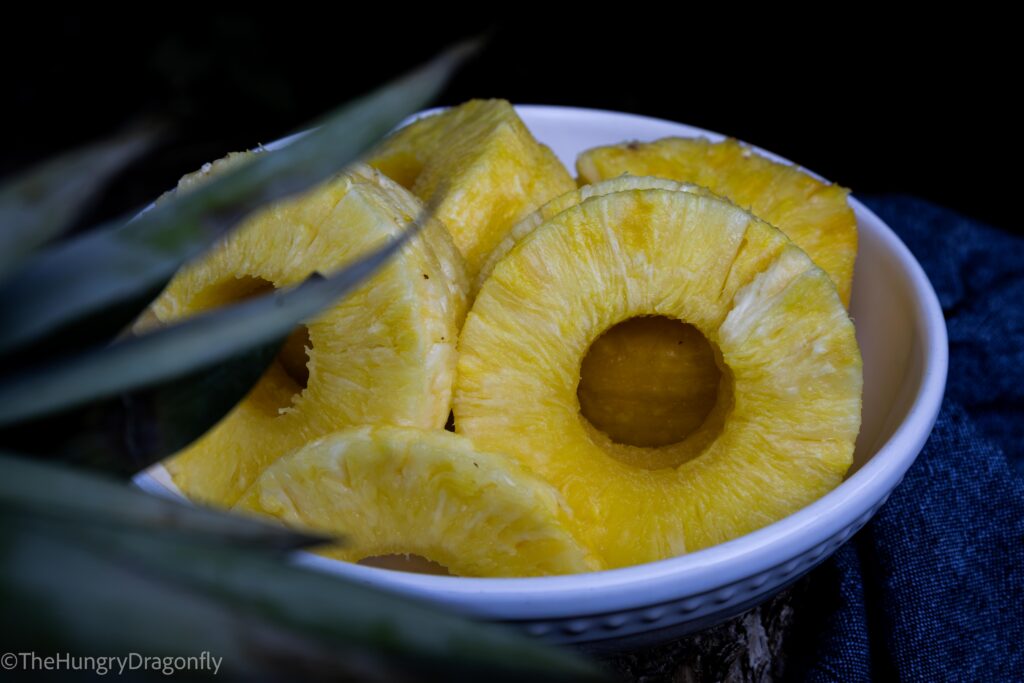
Ingredients You’ll Need for Piña Colada Limbers
- Coconut Milk & Coconut Cream – for that signature richness
- Pineapple – fresh, canned, or pineapple juice
- Vanilla Extract – for extra flavor, but it is optional
- Pinch of salt – to balance the flavors
- Cinnamon – or a taste of traditional flavors from Puerto Rico
How to Make Piña Colada Limbers
Making these homemade piña colada limbers couldn’t be easier. Add all of the ingredients to a high-speed blender or use an immersion blender until the mixture is smooth and creamy.
Pour the blended mixture into small plastic cups or traditional limber cups. Cover each cup with foil, plastic wrap, or a fitted plastic lid to help prevent ice crystals from forming.
Place the cups in the freezer for 6 to 8 hours, or preferably overnight, until completely frozen. When you’re ready to enjoy one, peel back the cup or briefly run warm water around the outside of the container to loosen the frozen limber. Serve immediately and enjoy this refreshing Puerto Rican frozen treat.
Tips for the Best Limbers
- Use canned coconut cream for the richest texture.
- Chill the mixture before pouring it into cups to reduce freezing time.
- Leave a little room at the top of each cup since the mixture expands as it freezes.
- Freeze for at least 8 hours, preferably overnight.
- Let the limber sit at room temperature for a minute or two before squeezing it out of the cup.
Recipe Variations
Want to make this recipe your own? Try these delicious ideas:
- Add shredded coconut for extra texture.
- Mix in crushed pineapple.
- Sprinkle toasted coconut on top before serving.
- Blend in mango for a tropical twist.
- Add a splash of vanilla extract for extra flavor.
Frequently Asked Questions
What is the difference between a limber and a popsicle?
A limber is frozen inside a small plastic cup instead of on a stick. The texture is often creamier, and you squeeze the frozen dessert upward as you eat it.
Can I make limbers without dairy?
Yes! Many Puerto Rican limbers are made using fruit juice alone. For creamy recipes like this one, use canned coconut milk or coconut cream.
How long do limbers last?
Stored in airtight freezer cups, limbers stay fresh for up to three months.
Can I use fresh pineapple?
Absolutely. Fresh pineapple gives these limbers an even brighter tropical flavor. Blend it until smooth before mixing with the remaining ingredients.
Bring a Taste of Puerto Rico to Your Freezer
For many Puerto Ricans, limbers are more than a frozen dessert—they’re part of our childhood. They’re the sound of kids laughing outside on hot afternoons. The neighbors selling homemade treats from their front porch. Birthday parties, family gatherings, and simple moments that become lifelong memories.
Other Puerto Rican Desserts
Guava Coconut Ice Cream & Vegan
If you try this recipe, let me know what you think! Leave a comment below. Also, don’t forget to take a picture and share it on my Facebook page or tag it #thehungrydragonfly on Instagram! I love seeing your creations!
Ingredients
- 2 cups fresh cut pineapple
- 2 cans full fat coconut milk
- 1 can coconut cream, Coco Lopez is the best
- 1 tbsp vanilla extract
- 1 tsp cinnamon
- 1/2 cup shredded coconut, optional
Instructions
- Add all of the ingredients to a high-speed blender or use an immersion blender until the mixture is smooth and creamy.
- Pour the blended mixture into small plastic cups or traditional limber cups.
- Pour the blended mixture into small plastic cups or traditional limber cups.
- Cover each cup with foil, plastic wrap, or a fitted plastic lid to help prevent ice crystals from forming.
- Place the cups in the freezer for 6 to 8 hours, or preferably overnight, until completely frozen.
- When you're ready to enjoy one, peel back the cup or briefly run warm water around the outside of the container to loosen the frozen limber.
- Squeeze the bottom of the cup to push the frozen treat upward. Turn it upside down and enjoy this refreshing Puerto Rican frozen treat.